Take it apart and then put it back together--well almost. Fong Qi Wei found a fresh and different way to look at flowers. Buy a gorgeous print for your home here.


 Come up and then immediately down a few millimeters away. Pointing your needle in the direction you want to make the petal, bring your needle back out about 1/4 inch away from the first hole, but don't pull the needle through.
 With your needle in this position, wrap the tail (the thread coming out of the very first hole) around the needle. You can start to see the petal forming.
 Pull your needle through, keeping the thread tight. Important note: pull your thread away from the tip of the petal like in the picture below.
 Next, is a tiny stitch used to secure the petal in place. Bring your needle down just on the other side of the petal.
 This is a finished lazy daisy stitch. Sometimes the petals will need some styling. Poke and pull at them with your needle to get the desired fullness and shape. Repeat several more times to create a full flower.
 I hope you enjoyed this quick tutorial and find some useful applications for the lazy daisy. Happy stitching!


 via
via


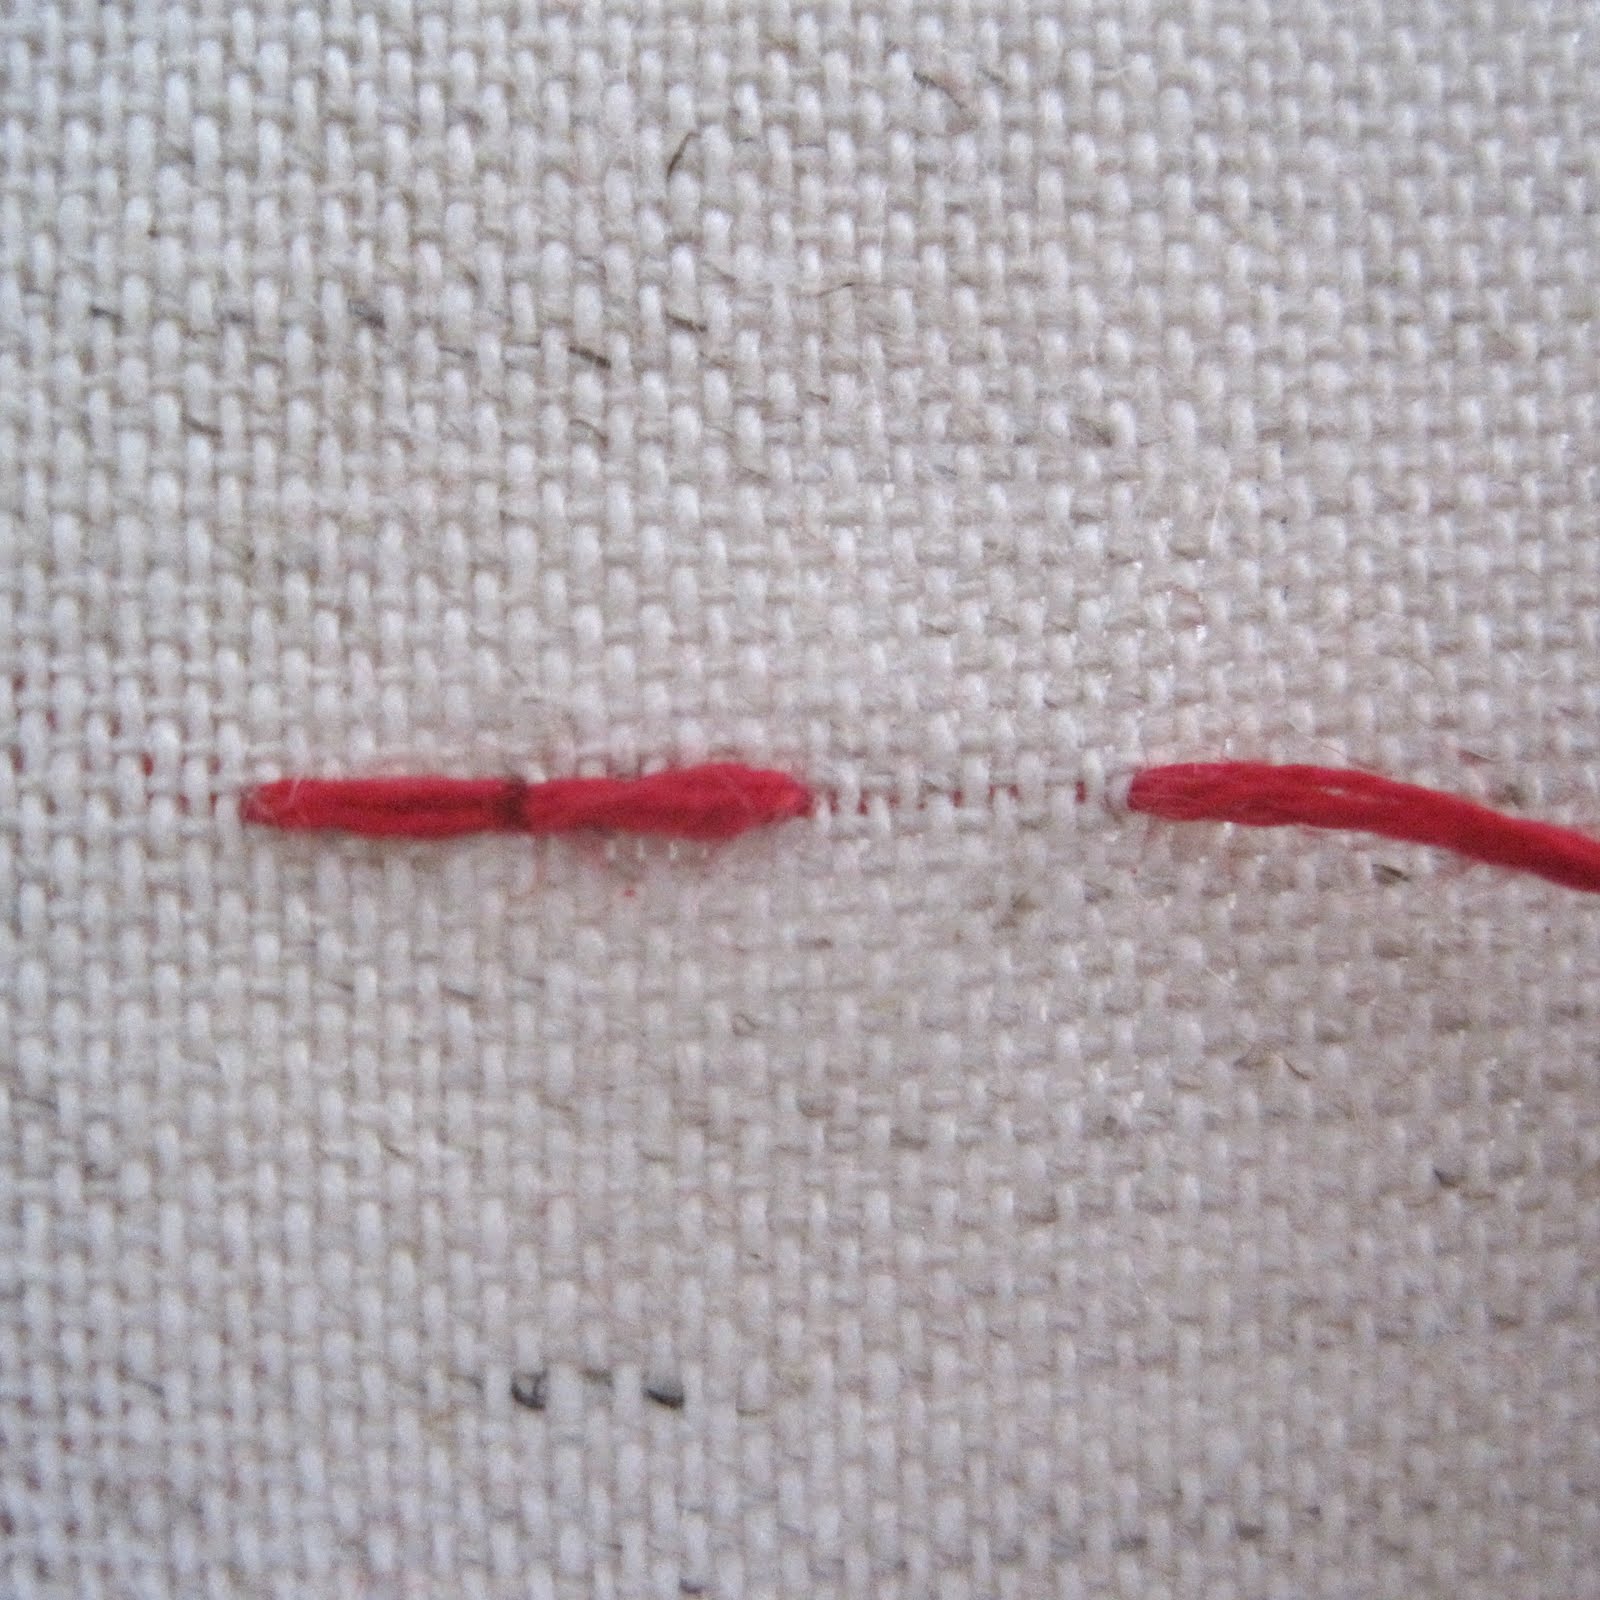
 Bring the needle through to the front of the fabric to make your first stitch. Move over about a quarter of an inch over and send the needle back down.
 And there you have your first stitch. Awesome!
 Bring your needle over to come up for the next stitch. This time we are going to use a slightly different technique on the way down.
 Instead of going straight down. You will go down and immediately up to make the next stitch all in one movement. It will make it easier if your fabric is taut. This technique will save you some time once you can get the hang of it.
 Repeat until you are finished.
 The back stitch is an extremely versatile stitch, but is mostly use for outlines.
 Now, time to tie off. Use both hands. One hand holding the loop taut, the other holding the tail. With the tension you can guide the knot down until it is touching the fabric.
 Next, put your fingernail over the knot, and slide the last of the thread though. Cut off the thread at about one quarter of an inch away from the knot. If you leave your tails long they will get caught up and tangle down the road.
 In no time at all you will be backstitching like a champ!


