Showing posts with label DIY. Show all posts

11.01.2012

Product Release 2013 Tea Towel Embroidery Calendar Kit

My latest tea towel kit features a new urban botanical mash-up pattern. Each towel is made of 100% natural linen and is screen printed with water based inks. Everything is packaged up into one kit with love. Check out more details here.


D.I.Y. TEA TOWEL EMBROIDERY KIT INCLUDES: 
• 100% natural linen tea towel
• 27" x 16" with a rolled hem
• 2 needles and quality red thread
• 6 in embroidery hoop
• Instructions and stitch guide


The hem at the top has a slot that allows you to easily hang with a dowel rod. 

I'm feeling extra crafty ever since the weather has changed. All I want is a fire, red wine, and a good project to curl up with on the sofa. 


9.30.2012

Seconds Sale on 2012 Tea Towel Calendar Embroidery Kit

This is an excellent time to try a CuriousDoodles embroidery kit while it is heavily discounted at $12.00. Check out the sale here


8.29.2012

Product Release: DIY Embroidery Kit In The Woods

I am thrilled to share my latest DIY Embroidery Kit with the world. This kit is great for beginners who have never tried embroidery or for more advanced folks who want a quick/fun project. 


The design was inspired by the wonderful feeling of being emmersed in nature. The front of the notebook features original illustrations of a geometirc bear and abstract sunset. I grew up in the piney woods of East Texas and we get some awesome sun sets there. The notebook holes are laser cut to make it easier to sew (like connect the dots). 


EACH KIT CONTAINS:
• 1 tree and sun laser cut notebook
• 1 geometric bear laser cut notebook 
• Quality red and teal thread
• 1 needle

NOTEBOOK DETIALS:
• Notebook size: 3.5" x 5"
• Cover- Kraft paper 100% recycled
• Inside- Blank white paper 100% recycled
• 32 pages

One feature I really like about this kit is that there are lines connecting the laser cut holes, so there is no confusion of where to stitch. It's so nice to stitch these up without referring to pattern.


5.19.2012

Quality Time With My Seam Ripper

I'm in the process of making a much needed duvet cover for my bed. I'm DIYing a look that I saw at west elm. I'm totally attracted to the overall look of the pintucks and how they make a puffy pattern. So pretty and luxurious. 


I'm definitely flying by the seat of my pants on this project. I sewed the first row of puckers and then realized that they were too close together and the comforter wouldn't fit inside. So thats why I'm spending my Saturday morning with coffee and a seam ripper. Yay. 


Side note:
I finally got an actual bed with a head board and footboard and everything. It's a gorgeous walnut antique from the 1940s so it deserves to be properly decorated. It's nice to see my bedroom coming together. More on that in the future. 

2.19.2012

DIY Embroidery Wood Brooch Kit

I am so thrilled to share my latest kit to the collection. It combines three of my favorite things: geometry, wood, and embroidery. Purchase here for $12.00
This is the perfect embroidery kit for someone starting to learn embroidery (kids and adults alike). It is designed to be open-ended so you can be as creative as you want. If you are looking for guidance the kit comes with a few patterns you can follow (see pictured below). I find the brooches to be very satisfying and relaxing to complete.

Each Kit Contains:
• 1 wood brooch with laser cut holes (1.5" diameter)
• 3 colors of thread (teal, purple, light green)
• 1 needle
• Brooch pin for easy fastening
• Instructions and 3 patterns


Product Release: His & Her Pillowcase Embroidery Kit

There is a new embroidery kit in the shop! After having such a great response to my Tea Towel Calendar kit I decided to continue the same aesthetic into a His and Her pillowcase project. It would make a lovely wedding or anniversary gift.


Each kit comes with:
• Two pillowcases screen printed with "HIS" and "Her"
• 220 Thread Count Very Soft Egyptian Cotton Pillowcases
• 30" x 21" to fit a standard sized pillow
• Quality red embroidery floss
• 2 embroidery needles
• 6" wood hoop
• Instructions and stitch guide


Buy here.

12.14.2011

Do It Yourself Magazine Feature

The holiday issue of Do It Yourself magazine featured my "Oh Deer" Embroidery Kit. The magazine is chock-full of cute DIY projects, mostly around the theme of home decor. Pick one up at your local book store to get some inspiration for the holidays.

11.10.2011

DIY Customized Embroidery Tea Towel for a Wedding Keepsake.

This tea towel would be a great gift if you know someone getting married. You can customize it by matching their wedding colors to your thread color. Also, use left over thread to write the bride and groom's name or write a simple message to them. Read below on steps to do customize.
I used a light box but a window would work fine to trace the letters onto the towel. I think handwriting, especially cursive would also be nice to try. I do recommend planning out how the text will look on another piece of paper. This way you can mess up and it won't be any big deal.
Next, follow your guide and take small stitches around the curves so it doesn't look too choppy.
Circle any dates that may be of importance like weddings, birthdays, anniversaries, etc. Try to have fun with it and make it your own. The possibilities are endless. If you have any pictures of your stitched up tea towel, I would love to see!
Happy stitching,
Laura

11.06.2011

DIY clock in the works...

This is a fun little project I've been working on. I realized I didn't have any clocks around the house. And I don't wear a watch, so it was time for me to make one. The clock is laser cut with one of my leafy patterns on birch plywood. I like the overall subtlety of the pattern versus the numbers.

11.04.2011

Embroidery Tutorial: French Knot

Start off by coming up through the fabric.

Hold the needle with your dominant hand. Wrap the thread around the needle 2-3 times depending on how big you want the knot.
Now, go back down the same hole you came out.
Push the knot all the way down your needle so it is touching the fabric. Take your time and gently nudge the needle through. You can keep the knot stable with a finger nail as you pull the rest of the tail through. That's all there is to it!

I love this example of what can be created with french knots from Incy Wincy Stitches.

10.25.2011

Embroidery Tutorial: Lazy Daisy

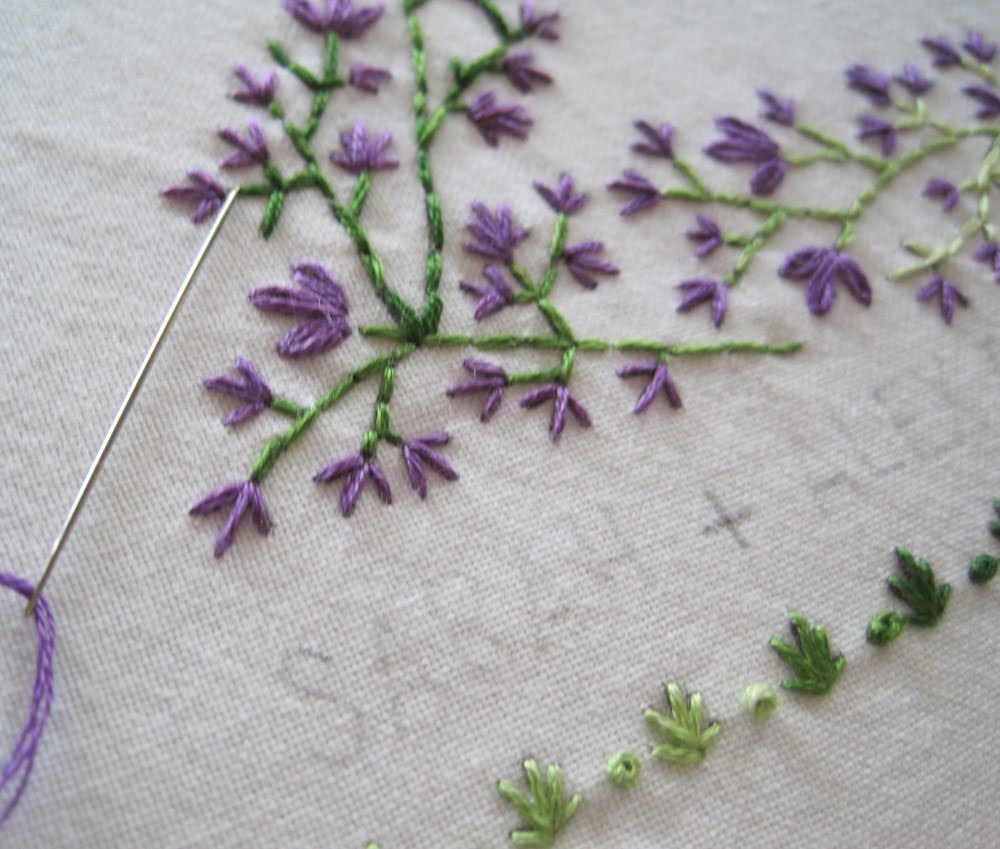
The lazy daisy embroidery stitch is especially helpful for flower petals and makes up the little blooms in my 2012 tea towel kit. Let me walk you through the basics of this fun, little stitch.
Come up and then immediately down a few millimeters away. Pointing your needle in the direction you want to make the petal, bring your needle back out about 1/4 inch away from the first hole, but don't pull the needle through.
With your needle in this position, wrap the tail (the thread coming out of the very first hole) around the needle. You can start to see the petal forming.
Pull your needle through, keeping the thread tight. Important note: pull your thread away from the tip of the petal like in the picture below.
Next, is a tiny stitch used to secure the petal in place. Bring your needle down just on the other side of the petal.
This is a finished lazy daisy stitch. Sometimes the petals will need some styling. Poke and pull at them with your needle to get the desired fullness and shape. Repeat several more times to create a full flower.
I hope you enjoyed this quick tutorial and find some useful applications for the lazy daisy. Happy stitching!

-Laura

10.17.2011

Sneak Peak: Oversized Embroidery Sign

This signage has been in the works for over a year and its finally coming together. I love the idea of blowing up my little CuriousDoodles avatar into oversized chunky embroidery. Can't wait to share the finished sign.

10.13.2011

Embroidery Tutorial: Back Stitch

I made this tutorial for the visual people out there that learn best with images. I hope you enjoy! There are many ways to do embroidery techniques. I'll show you what works for me, but I've found the best way to perfect a technique is to practice until you come up with your own tricks.

First things first, divide the six strands into two three-stand groups. It is possible to sew with all 6 if you want a bulky look. Two strands will be ideal for very fine to small detail work.


After threading your needle, tie a knot at the end of your thread. This doesn't have to be anything fancy. I use the same kind of knot that I use on shoelaces. The knot needs to be bigger than the weave of your fabric so sometimes it is necessary to tie two knots right on top of each other. Use your fingernail and slowly guide the second knot down to meet the first knot.


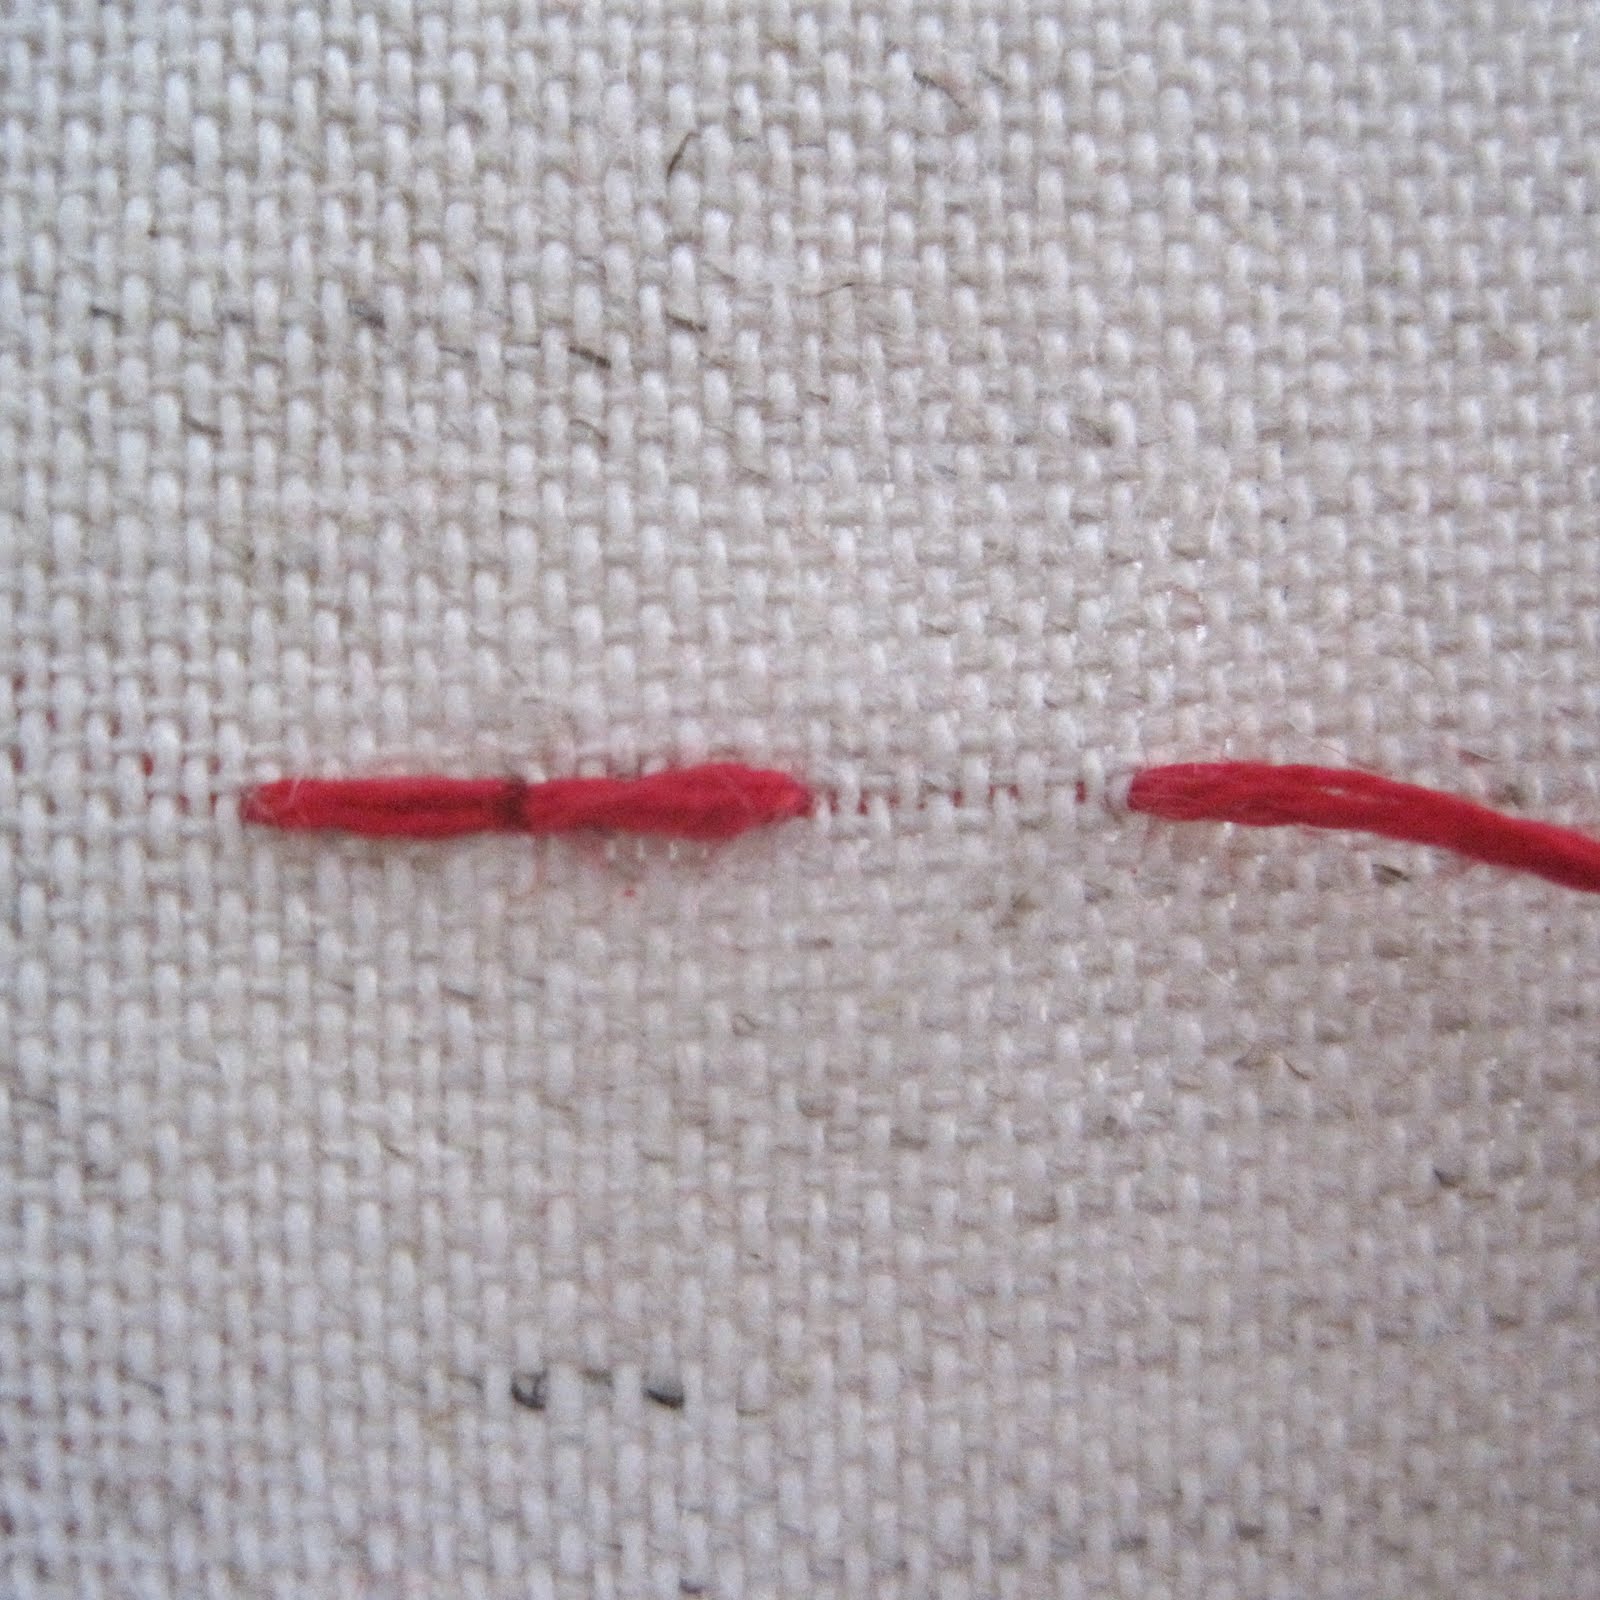
Bring the needle through to the front of the fabric to make your first stitch. Move over about a quarter of an inch over and send the needle back down.


And there you have your first stitch. Awesome!

Bring your needle over to come up for the next stitch. This time we are going to use a slightly different technique on the way down.

Instead of going straight down. You will go down and immediately up to make the next stitch all in one movement. It will make it easier if your fabric is taut. This technique will save you some time once you can get the hang of it.


Repeat until you are finished.

The back stitch is an extremely versatile stitch, but is mostly use for outlines.

Now, time to tie off. Use both hands. One hand holding the loop taut, the other holding the tail. With the tension you can guide the knot down until it is touching the fabric.


Next, put your fingernail over the knot, and slide the last of the thread though. Cut off the thread at about one quarter of an inch away from the knot. If you leave your tails long they will get caught up and tangle down the road.

In no time at all you will be backstitching like a champ!


Check out CuriousDoodles embroidery kits here.