Showing posts with label tutorial. Show all posts

11.04.2011

Embroidery Tutorial: French Knot

Start off by coming up through the fabric.

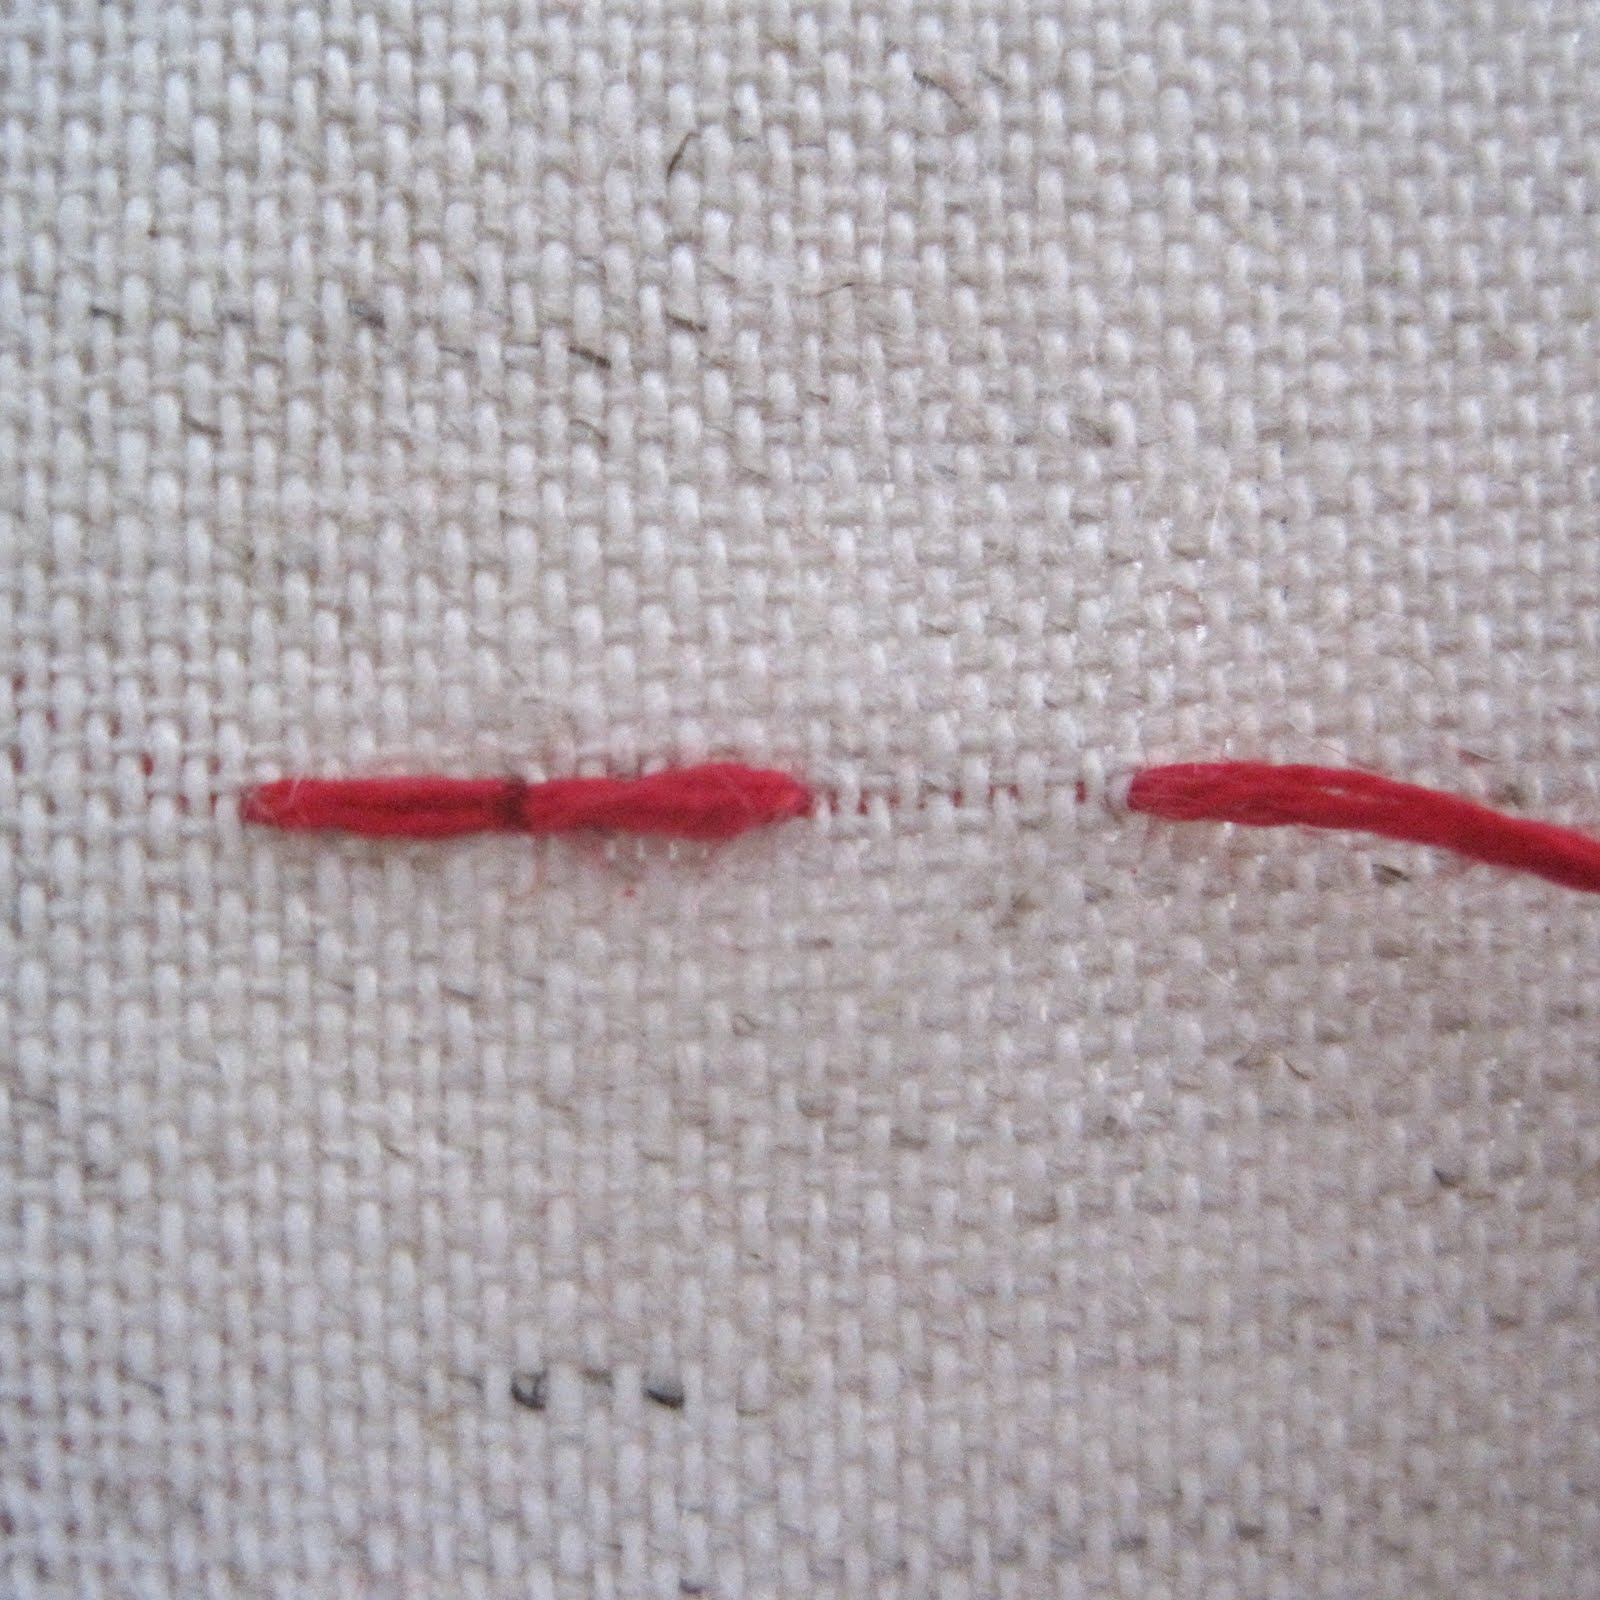
Hold the needle with your dominant hand. Wrap the thread around the needle 2-3 times depending on how big you want the knot.
Now, go back down the same hole you came out.
Push the knot all the way down your needle so it is touching the fabric. Take your time and gently nudge the needle through. You can keep the knot stable with a finger nail as you pull the rest of the tail through. That's all there is to it!

I love this example of what can be created with french knots from Incy Wincy Stitches.

10.25.2011

Embroidery Tutorial: Lazy Daisy

The lazy daisy embroidery stitch is especially helpful for flower petals and makes up the little blooms in my 2012 tea towel kit. Let me walk you through the basics of this fun, little stitch.
Come up and then immediately down a few millimeters away. Pointing your needle in the direction you want to make the petal, bring your needle back out about 1/4 inch away from the first hole, but don't pull the needle through.
With your needle in this position, wrap the tail (the thread coming out of the very first hole) around the needle. You can start to see the petal forming.
Pull your needle through, keeping the thread tight. Important note: pull your thread away from the tip of the petal like in the picture below.
Next, is a tiny stitch used to secure the petal in place. Bring your needle down just on the other side of the petal.
This is a finished lazy daisy stitch. Sometimes the petals will need some styling. Poke and pull at them with your needle to get the desired fullness and shape. Repeat several more times to create a full flower.
I hope you enjoyed this quick tutorial and find some useful applications for the lazy daisy. Happy stitching!

-Laura

10.13.2011

Embroidery Tutorial: Back Stitch

I made this tutorial for the visual people out there that learn best with images. I hope you enjoy! There are many ways to do embroidery techniques. I'll show you what works for me, but I've found the best way to perfect a technique is to practice until you come up with your own tricks.

First things first, divide the six strands into two three-stand groups. It is possible to sew with all 6 if you want a bulky look. Two strands will be ideal for very fine to small detail work.


After threading your needle, tie a knot at the end of your thread. This doesn't have to be anything fancy. I use the same kind of knot that I use on shoelaces. The knot needs to be bigger than the weave of your fabric so sometimes it is necessary to tie two knots right on top of each other. Use your fingernail and slowly guide the second knot down to meet the first knot.


Bring the needle through to the front of the fabric to make your first stitch. Move over about a quarter of an inch over and send the needle back down.


And there you have your first stitch. Awesome!

Bring your needle over to come up for the next stitch. This time we are going to use a slightly different technique on the way down.

Instead of going straight down. You will go down and immediately up to make the next stitch all in one movement. It will make it easier if your fabric is taut. This technique will save you some time once you can get the hang of it.


Repeat until you are finished.

The back stitch is an extremely versatile stitch, but is mostly use for outlines.

Now, time to tie off. Use both hands. One hand holding the loop taut, the other holding the tail. With the tension you can guide the knot down until it is touching the fabric.


Next, put your fingernail over the knot, and slide the last of the thread though. Cut off the thread at about one quarter of an inch away from the knot. If you leave your tails long they will get caught up and tangle down the road.

In no time at all you will be backstitching like a champ!


Check out CuriousDoodles embroidery kits here.

7.31.2010

French Knot DIY Tutorial


If you are not already familiar with the DIY STITCHIES Embroidery Card Kits, go check them out here. These kits are great for beginners that want to try out embroidery on paper. The holes are all laser cut so its really easy to get started. All of the cards can be made using a simple backstitch and a french knot. I made this french knot tutorial because sometimes its much easier to learn by watching (at least for me it is). The STITCHIES kits are ready to ship from my shop.

Please note, sometimes when you are working with embroidery on paper, the french knot will go right through the hole on accident. Don't freak if this happens. Make another french knot right on top of the existing knot until its bulky enough to not go through the hole.

5.27.2010

DIY Felt Flower Brooch Tutorial

I've been busy crafting for myself. This is flower broach was made from this well written tutorial. It takes alittle bit of time to cut out all the petals, but I think it was definetly worth it. The flowerette ends up being about 4in in diameter and can be used on clothes or as a hair accesory. The itty bitty pocket on the underside of the flower, for a small photo or note, makes me gitty with delight. I highly recommend trying out this tutorial.

2.26.2010

Tip for back and neck pain

Remembering to move...


As a graphic designer I've found that sitting still in a chair for 8 hrs is very hard on your neck, lower back, and hamstrings. It's something that nobody really talks about, but I'm pretty sure it affects a lot of people. I was recenetly rear-ended which has amplified my pain. My chiropractor recommended a timer to remind myself to get up and move every 30 minutes. I went home and immediately downloaded this free timer for macs. It's very easy to set it up to chime every 30 minutes. It's a subtle reminder to nod your head yes and no and stand up for a second to stretch and to be more aware of your body so that you can sit with correct posture. Ahhh!

Other tips that work for me:
• Back bends such as camel pose to counter act the hunching forward. Laying on the edge of the bed with your head hanging off seems to do the trick for me too.
• Ice the area that hurts for 20 min.
• Wet heating pads help relax tense shoulders. Here is a DIY tutorial on how to make your own.
• Yoga is great for keeping the spine and overall body healthy. I use Yogatoday.com which gives me unlimited yoga classes streamed from the internet for 10$ a month.

What do you do to cope with your back/neck pain?

2.07.2010

DIY Gift Wrapping Idea for Musicians

Actually I think non-musicians could appreciate it as well. I made this for my roomate. Happy Birthday Hannah!


I got this idea while packing up calendars for my etsy customers. I ususally wrap twine around the package a few times and thats when I got the idea to wrap the twine around 5 times to make a musical staff. This is a great way to personalize gift wrap. Here is how I made it.

1. Use a ruler to draw the 5 equally spaced lines (use a pencil so you can erase later) on the wrapping paper. This will be a guide for where to place your notes. Mine were about 1 cm apart but this will change depending on how big your gift is.

2. Find the sheet music via the internet for the song you want to feature.

3. Draw the notes onto the package.

4. Erase the pencil guides

5. Wrap the twine around the present so the lines are in just the right spot. Then tie a knot on the back to secure the twine in place.

If anyone decides to try this project out I would love to see pics!

3.24.2009

DIY Japanese Stab Stitch Tutorial


I'm pleased to share the latest DIY tutorial featuring Maeve Rogers of Color Theory. I love using this method for journals because it fairly simple to do and it has a really nice clean appearance. The supplies are minimal so It can be a really affordable project for those of us trying to save money.  

Special thanks to Natalia Daniels for helping out with this one.

11.03.2008

Upcycled Magazine Bowls


Check out these cute bowls from indiepublic made out of upcycled magazines. They have a really great tutorial as well.

10.27.2008

D.I.Y. Tee-Shirt Throw Pillow Tutorial

I made another video tutorial for all the crafters out there. Woot!


The trickiest part of this tutorial is knowing how big to cut your front and back panels. My pillow form was 14 x 14 inches, and I cut the panels to 12.5 inches so they fit very tightly. You are going to have to experiment with this to find the right size for your pillow form. The pillow on the left was cut at 14 x 14 inches and you can see it turned out slightly floppy.

9.01.2008

Nike + shoe hack tutorial

I am pleased to share the first of many DIY tutorial. Get crafting!

Learn how to hack your running shoes to work with the nike + system. This is a simple project that you can make with very basic materials. Enjoy!